
I love pretty paper, but lets face it - it is flat. So I am always trying to add dimension and texture to my layouts. Those heavy textured papers are always favorites for just that reason. But they seem to be harder and harder to find. And since my LSS closed, I am having to guess at the texture of a sheet of paper based on online descriptions and knowledge about specific manufacturers.
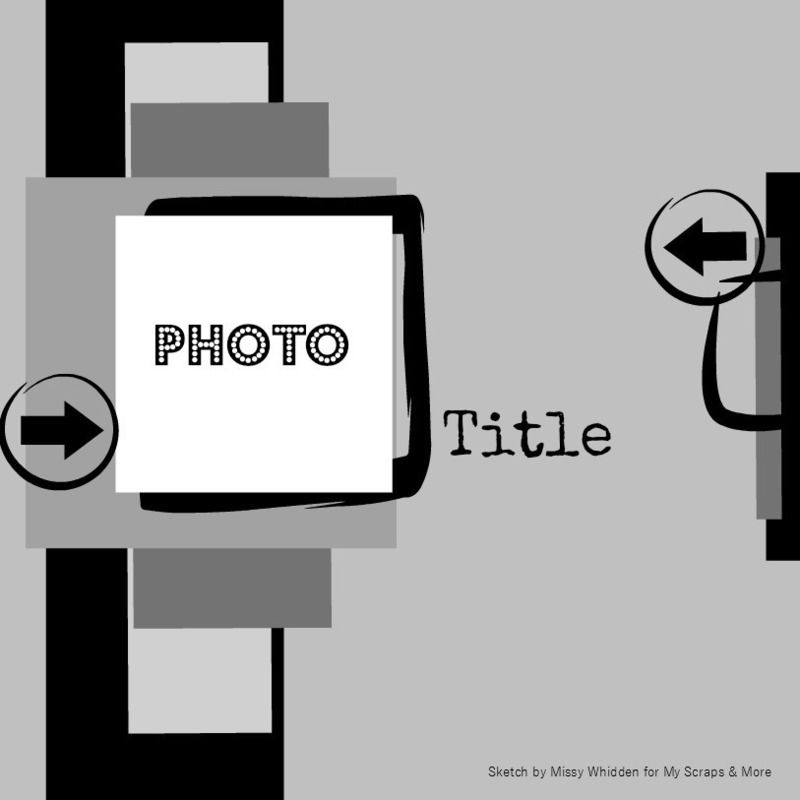
As a result, I am looking more at my stash to find ways to use layers and embellishments to add dimension and texture to layouts. When I worked with this sketch from MSAM, I really tried to focus on texture and dimension as a way to make the design my own.
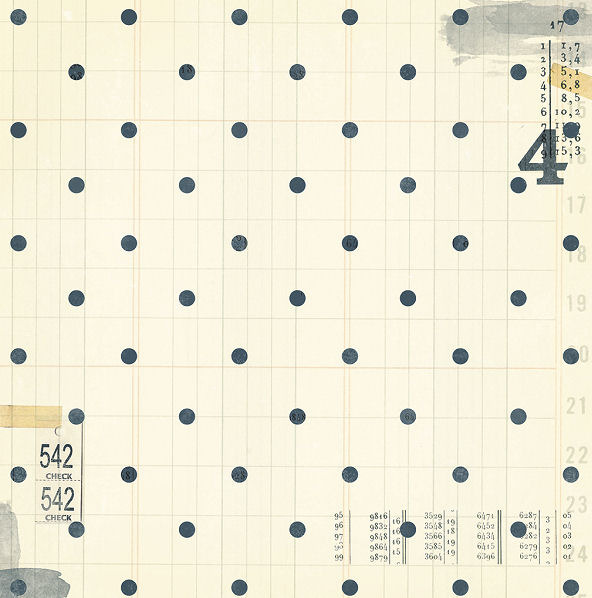
I started with a patterned paper background. The large polka dots were fairly bold for a background, but seemd to go with the feel of my page and added a lot of dimension before I did anything else.
Then I started building the layers. I pulled the peach and the floral papers from the March Studio Calico kits. Then I dug through my scraps and found a piece of navy corrugated paper (maybe Fancy Pants?) and added that. I also used a glassine bag that was leftover kit packaging under my photo - those pabs are a great way to add dimension and texture without spending an extra dime!

I added die cuts from Pinkfresh Studios (Up In the Clouds) and Elle's Studio (Cierra) and a glittery piece of wood veneer that was in my stash. I dug out those gold foil alphas from the Studio Calico Lemon Lush line for the title. Some ink splatters (using teal, peach and primrose colorshine) finished it off.
The finished layout had lots of dimension without burying the picture.
Thanks for stopping by.
As a result, I am looking more at my stash to find ways to use layers and embellishments to add dimension and texture to layouts. When I worked with this sketch from MSAM, I really tried to focus on texture and dimension as a way to make the design my own.
I started with a patterned paper background. The large polka dots were fairly bold for a background, but seemd to go with the feel of my page and added a lot of dimension before I did anything else.
 |
| Textures - Crate Paper - Craft Market |
I added die cuts from Pinkfresh Studios (Up In the Clouds) and Elle's Studio (Cierra) and a glittery piece of wood veneer that was in my stash. I dug out those gold foil alphas from the Studio Calico Lemon Lush line for the title. Some ink splatters (using teal, peach and primrose colorshine) finished it off.
The finished layout had lots of dimension without burying the picture.
Thanks for stopping by.


 "
"


No comments:
Post a Comment